The technique of rearing queen was developed at the beginning of the 20th century thanks to Perret-Maisonneuve, and later perfected by British beekeepers. It is very simple and requires only basic tools.
Rearing queen cells
Breeding queens means making a colony an orphan by retrieving their queen so that working bees will breed a new one to replace her. Beekeepers wanting to breed new queens must be very thoughtful of the young bees (age 5 to 15 days) because they are the one who will produce the royal jelly, essential to queens’ nurturing.
The second step of rearing queens is to collect uncapped cells and placing them in a mating nuc. One cannot stress enough the importance of beekeepers respecting bees and queens’ natural behaviors. As such, the best time to proceed to phase 2 would be to wait for the first honeydew of the season, because it ensures the abondance of proteins-full pollen that is essentiel to the proper breeding of new queens.
What you will need
— a plastic queen excluder:
it has small holes, through which regular bees can pass through while
the queen, which is bigger, cannot. It thus serves as a bee filter to
isolate the queen.
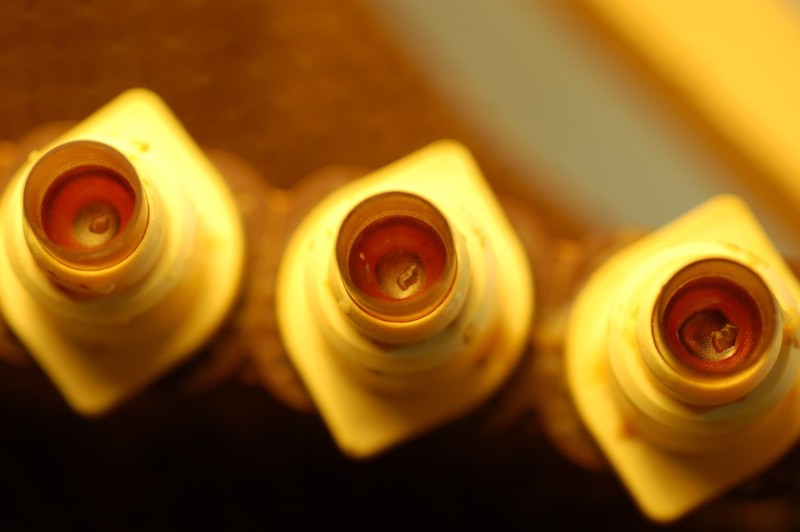
— cell cup holders: are artificial royal cells and are usually in plastic and therefore can be used several times.
— a grafting frame: a 2 story frame in which you can put about 15 cell cup holders, about 3 inches from one another.
— picking tool: made of a thin metallic shank to transfer young larvas
into cell cups. You can also use a (very) small paintbrush or a bird
feather.
Of course, you will need more tools if you intend to breed queen on the professional level. Such as a starter or hair roller queen cage for transport.

